
The problem: models eat time and cash
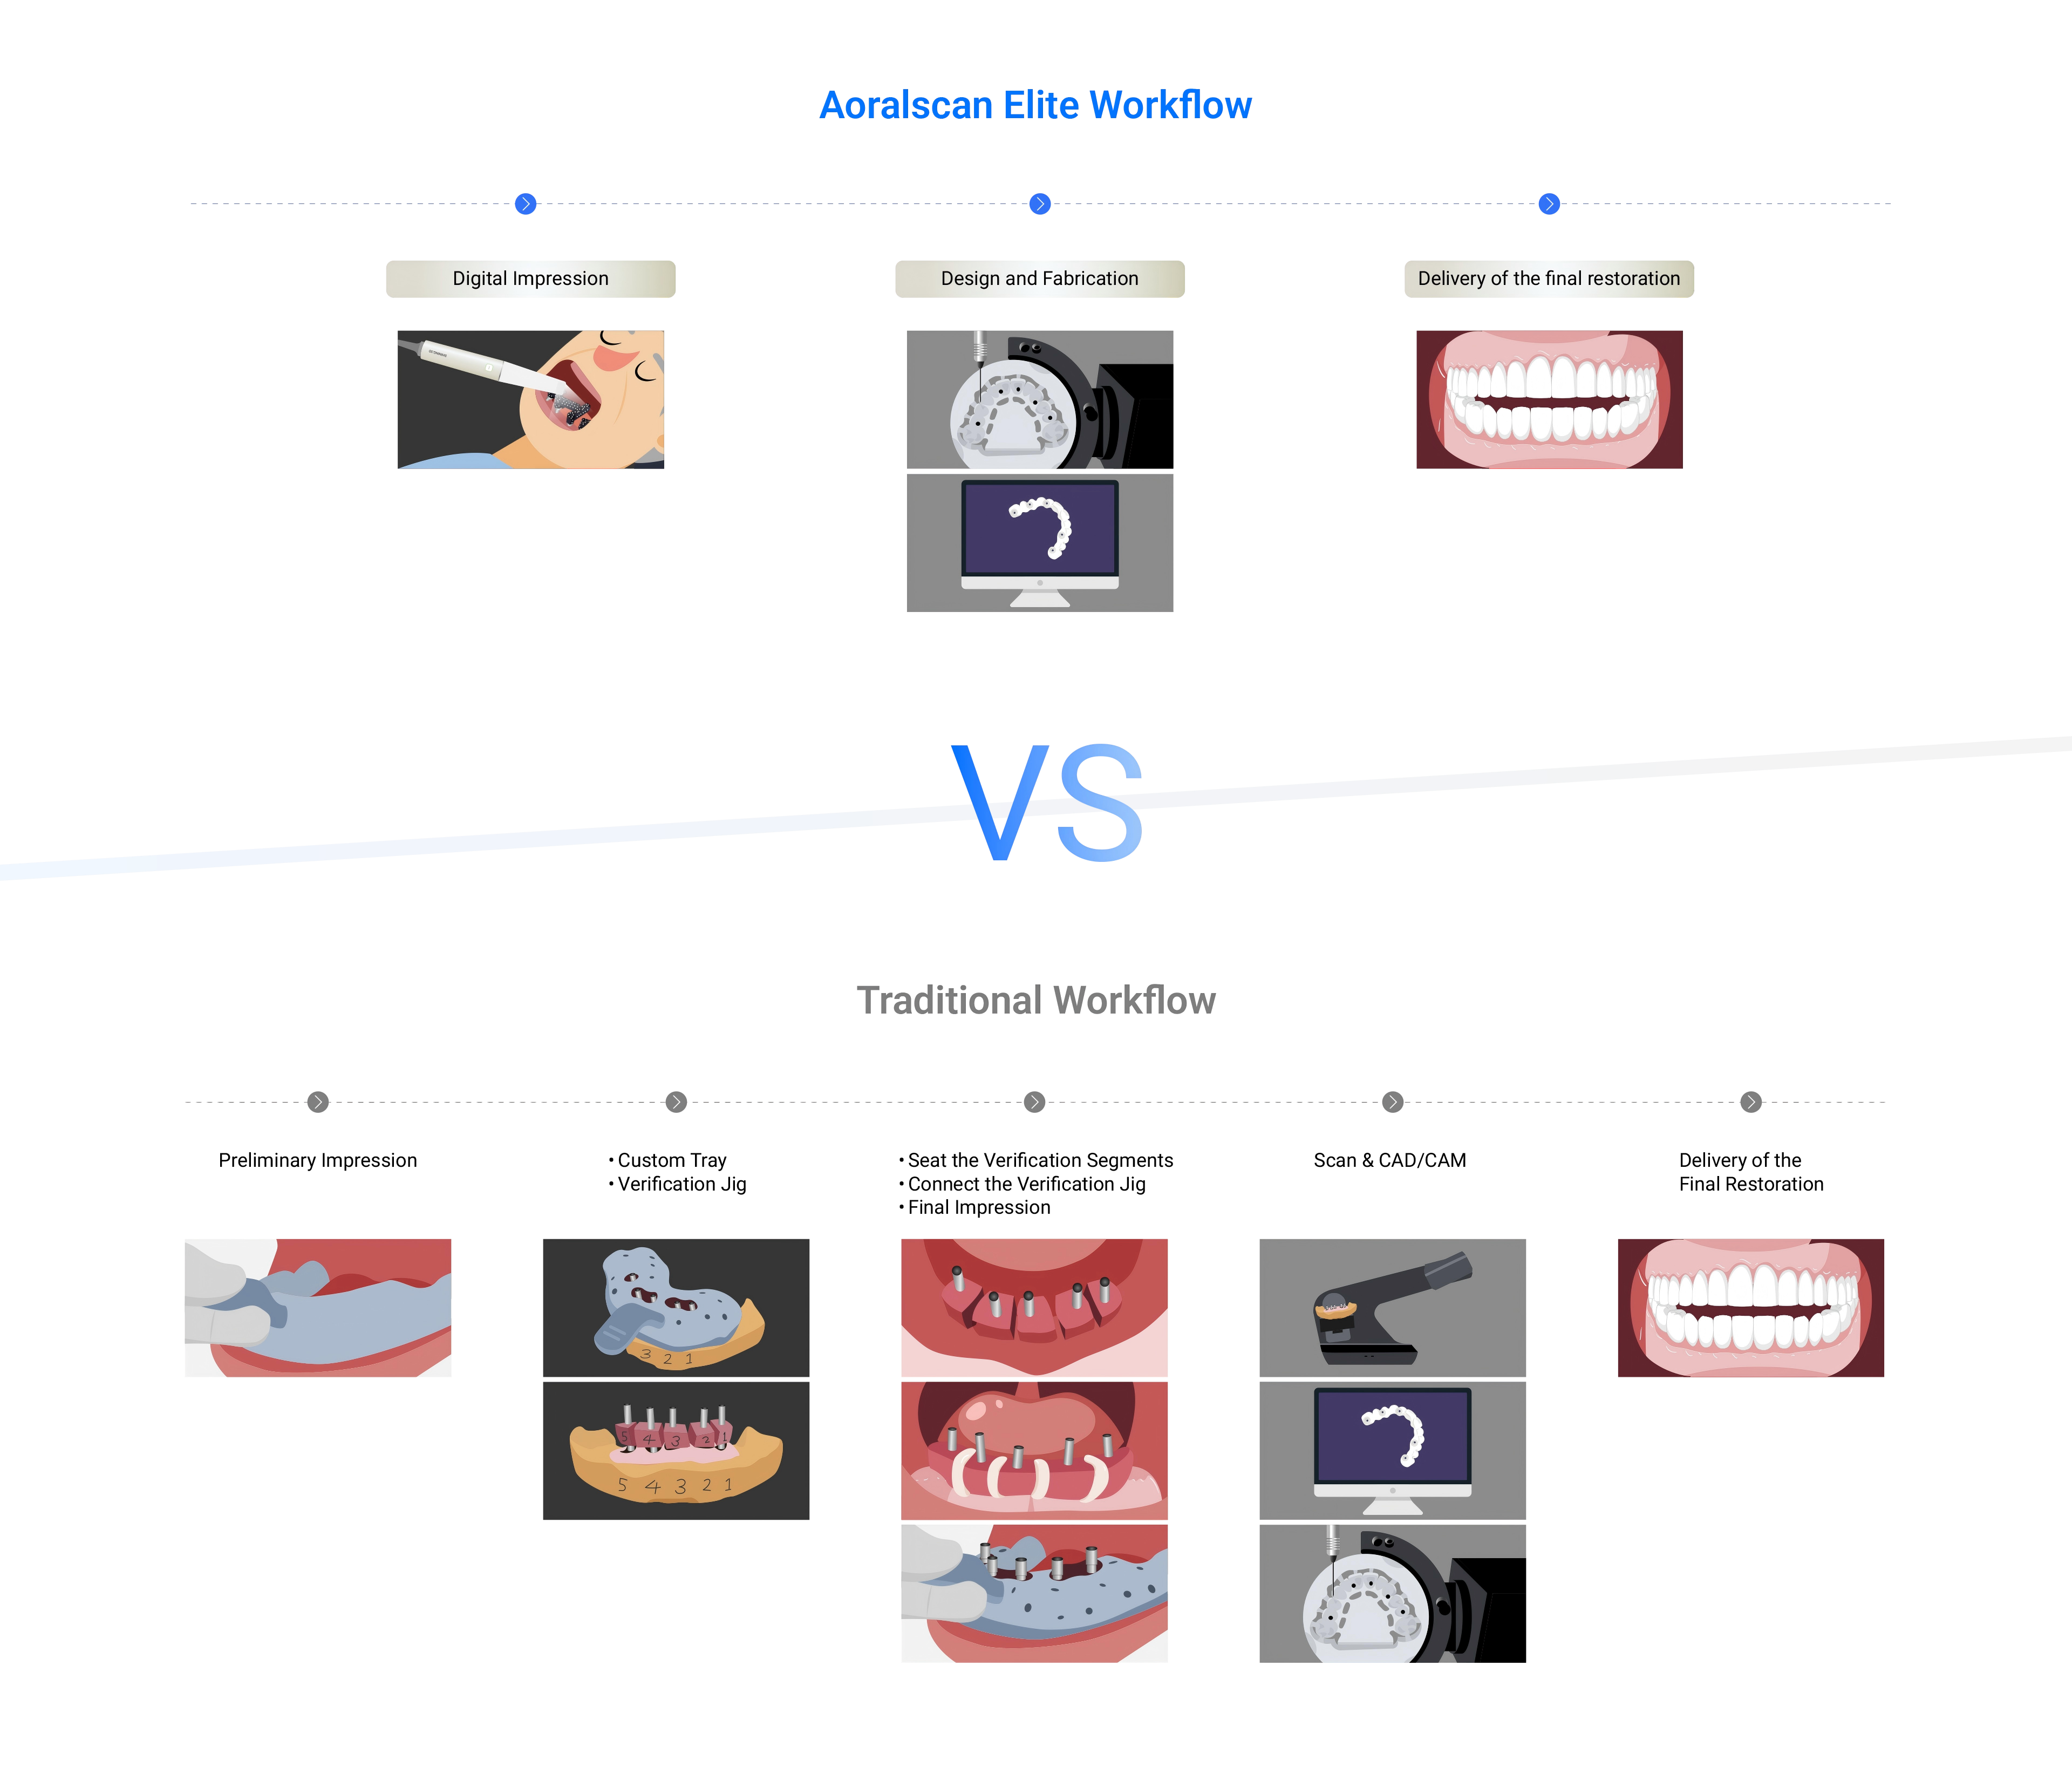
You’re bleeding hours waiting on external labs and getting models that need adjusting. Wrong fit, delayed cases, frustrated patients. Fixing that starts by scanning right — use a reliable Photogrammetry 3D scanner to capture dies and impressions without fumbling trays. Do that and you cut rewrites and surprise remakes fast.
What you actually need — no fluff
A stable SLA or MSLA printer that hits dental resin specs. Two resins: one model resin for study casts and one castable/resin for crowns if you plan on lab-side casting. A curing box with reliable timers and wavelengths. A slicer that exports clean STL and lets you tweak supports. Basic PPE, a fume-controlled workspace, and a bench for post-processing. Calibration targets and a scrap model for first prints. Keep tools small and practical, not shiny and expensive.
Step-by-step setup that works on day one
1) Unbox and level the build plate. 2) Install manufacturer resin and run the provided calibration model. 3) Scan the case, clean the mesh, export STL. 4) Orient models for shortest print time with sensible supports. 5) Print one test model at production settings. 6) Rinse, dry, and post-cure to recommended specs. 7) Fit-check on a stone-only analog or directly in mouth if protocol allows. If something’s off, adjust support density, exposure time, or layer height and re-run the test.
Common mistakes that wreck your first week
Skipping calibration. Using the wrong resin profile. Squeezing too many models on the plate and getting failed runs. Not cleaning uncured resin off undercuts before curing. Over-curing or under-curing. Ignoring ambient temp — resin behaves differently when the room’s cold. Fix these early and you save time and material.
Alternatives and when to pick them
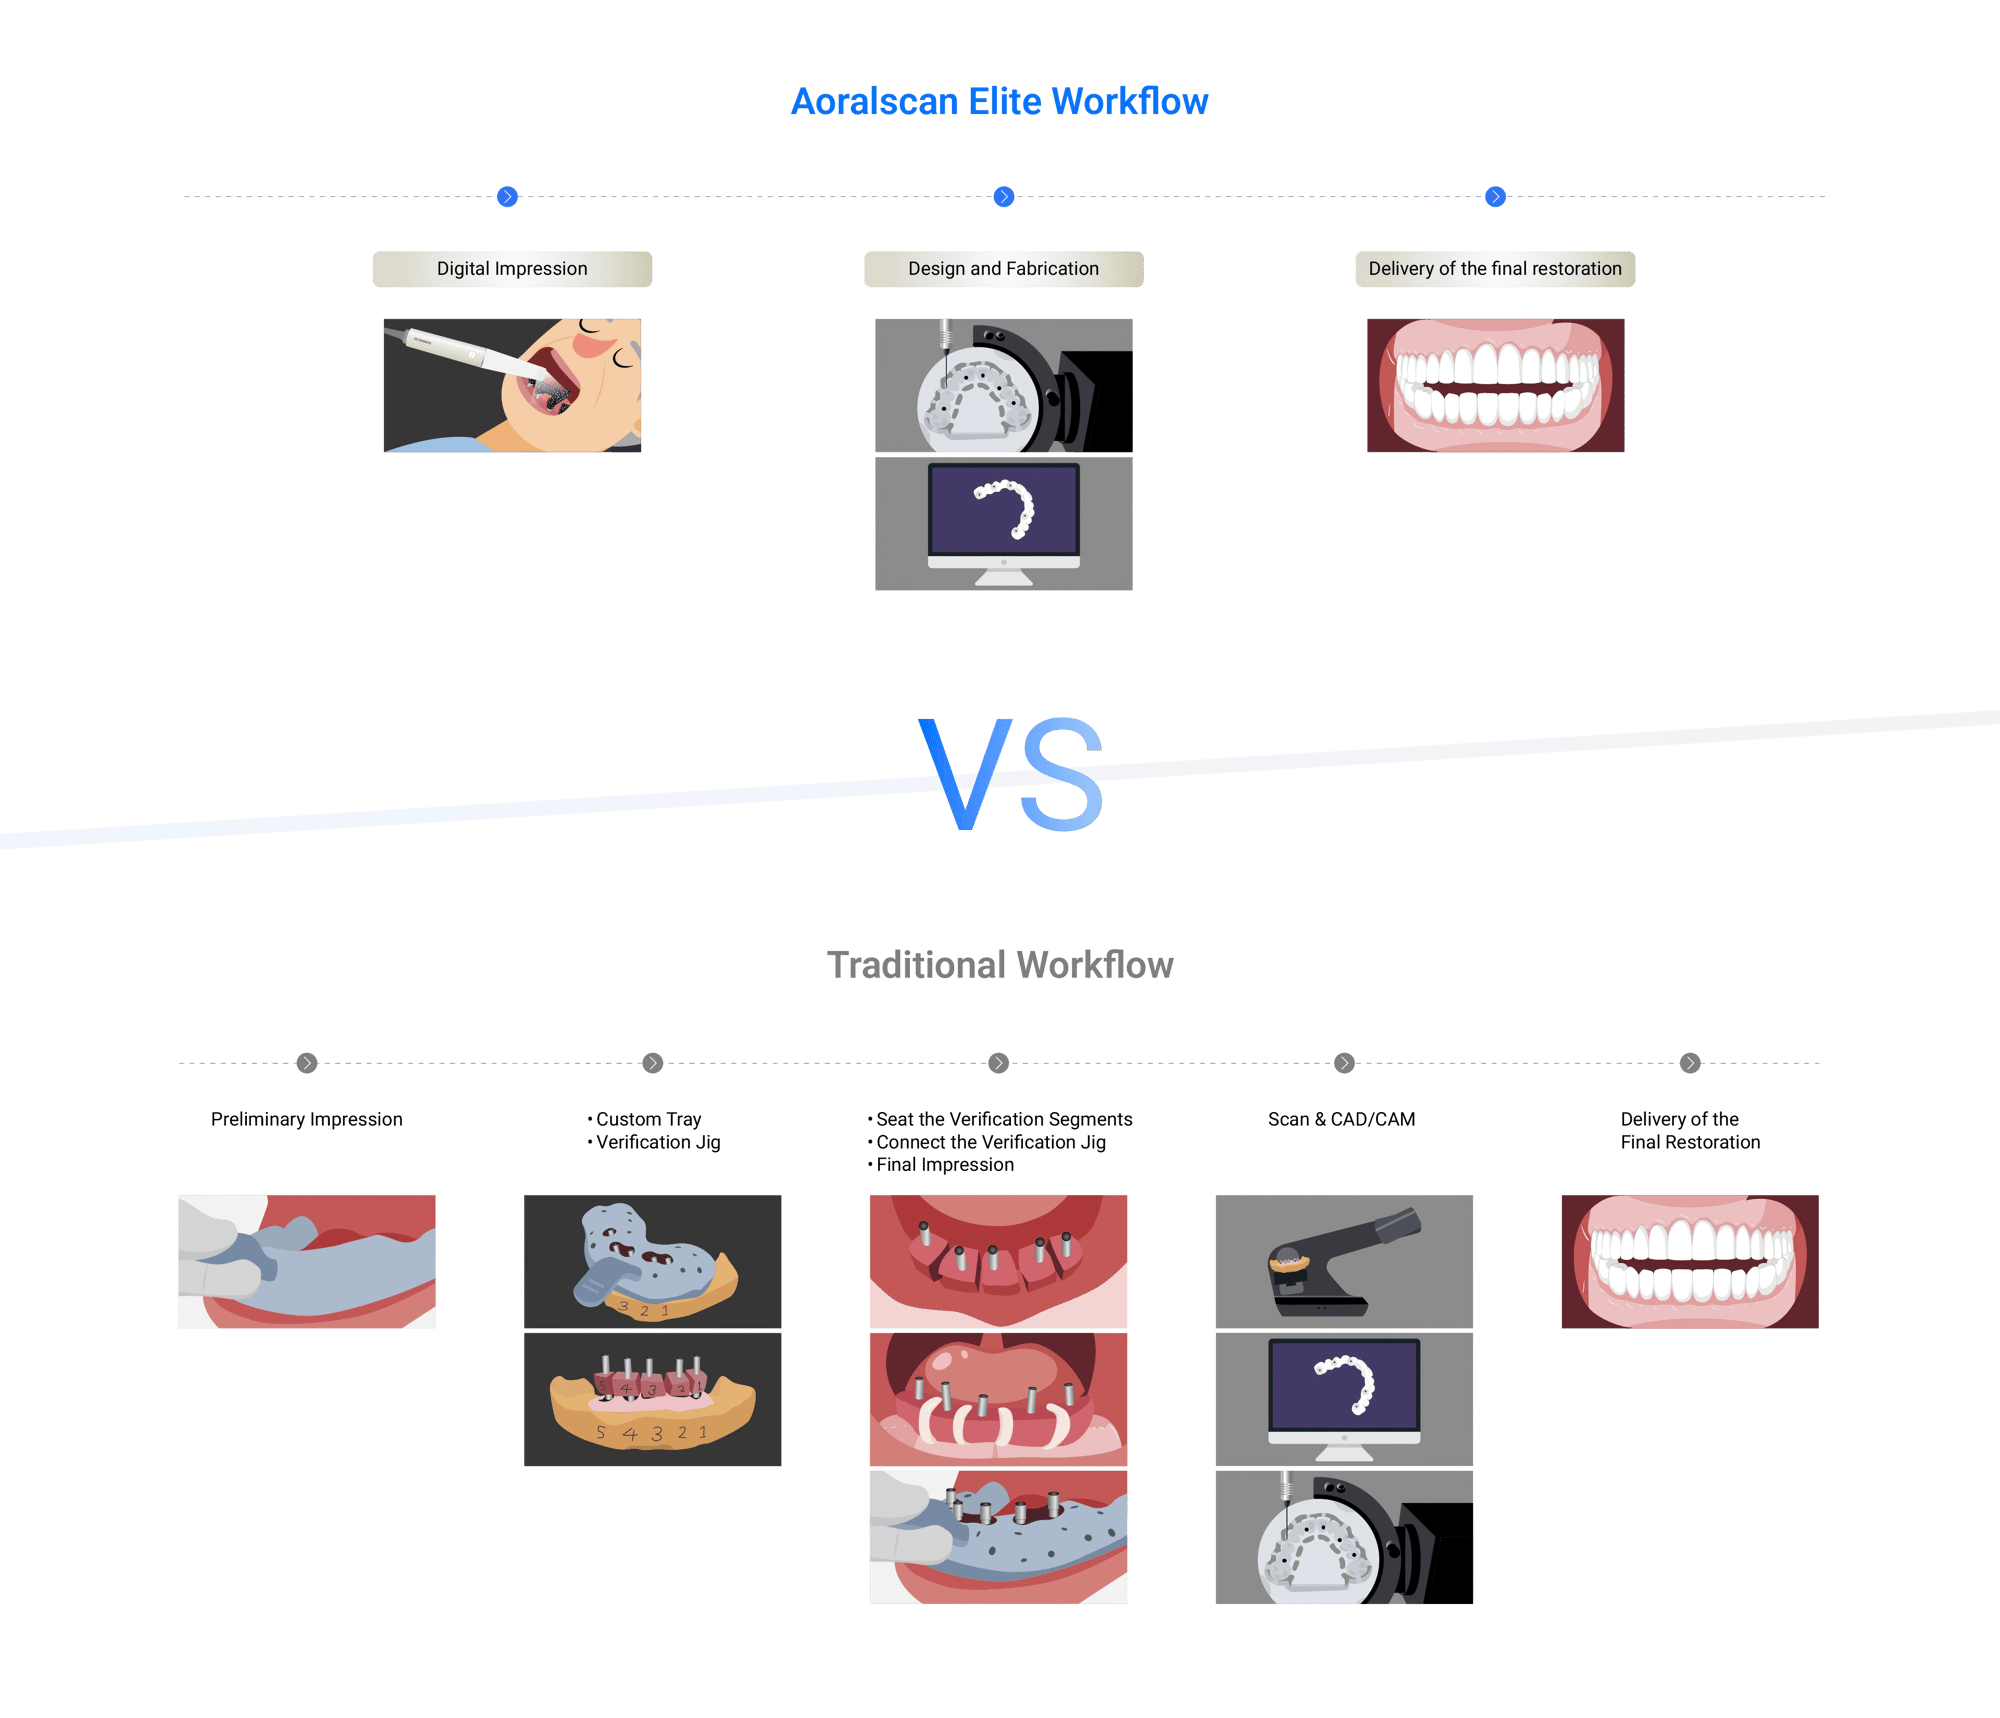
Outsource if volume spikes and you need predictable turnaround. Milling gives very hard models but eats blocks and bucks. For quick in-house turnaround and detailed soft-tissue anatomy, printing wins. If you can’t handle post-processing or lack staff, keep working with a lab while you train someone up.
Real-world context and trust
People at big industry gatherings like IDS Cologne talk workflow, and a lot of that conversation centers on reliable scanning and repeatable prints — tools such as shining 3d Photogrammetry dental fit into those talks because they solve the input side: clean, indexed data. I’ve helped clinics tune printer profiles, adjust curing times, and train assistants so prints arrive accurate on day two, not day twenty. That hands-on experience shapes what works and what wastes resin.
Bottom line
Stop outsourcing routine models by getting the basics right: good scans, sensible printer choice, strict post-cure, and a no-nonsense QA check. Do those and your in-clinic model production runs tight and predictable. For clinics aiming to pair dependable photogrammetry with practical print workflows, SHINING 3D DENTAL sits squarely in the toolbox as the data-and-hardware link that keeps the bench honest.