
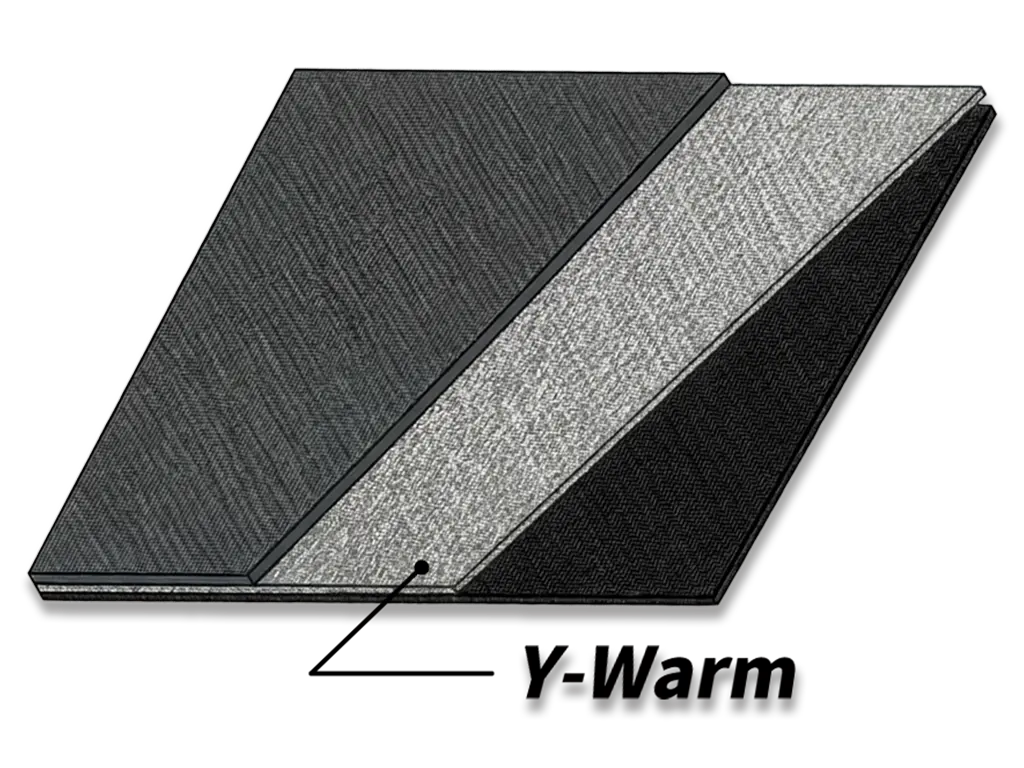
The building manager who notices a sagging patch on a façade knows the loss: heat seeping where it shouldn’t, lifecycle shortened, tenant complaints rising. This piece speaks to that person—practical, plain, and quietly exact. It pairs lived inspection experience with tested methodology, pointing you toward thermal insulation solutions and measurable improvements used in retrofit projects from Chicago to Copenhagen. With buildings responsible for roughly 40% of energy use worldwide (IEA), a failing bondline or a compromised vapor barrier is not just a craft problem; it is a systemic one. Here you’ll find field-friendly checks and repair logic that respect both the craft and the occupant’s comfort, all rooted in outdoor thermal insulation practice and simple material science.
Spotting the User Pain: Symptoms, Not Just Surface Blame
Delamination rarely appears alone. Look for soft spots, audible hollow sounds during tapping, water staining, or thermal imaging hotspots near seams. These are user-visible symptoms that indicate weak interface adhesion, moisture ingress behind the laminate, or substrate contamination. Prioritise what affects comfort and safety: airflow through seams and thermal bridging at joints will bite performance first; cosmetic flaking follows. Capture photographs, mark coordinates, and log temperatures. That record saves hours when you consult suppliers or contractors.
Root Causes Seen in the Field
The causes are often ordinary: improper surface preparation, incompatible adhesives, trapped moisture, and mechanical stress from thermal cycling. A contractor may have used an adhesive rated for short-term tack but not for cyclical loads, or left a substrate with dust or oil—hidden saboteurs of interface adhesion. Wind-driven rain and freeze-thaw cycles accelerate delamination where the vapor barrier was interrupted. When you inspect, test for adhesion strength, examine the bondline, and assess whether insulation panels were compressed during installation—small compressions lead to large gaps under load.
Practical Troubleshooting Protocol
Work through checks in this order: surface, adhesive, environmental conditions, and structural load. Use these practical steps:
– Non-destructive tapping and infrared scanning to map delaminated zones.
– Adhesion testing (pull-off) at representative spots to quantify failure versus acceptable bond strength.
– Moisture content measurement in panels and substrate to rule out trapped water.
– Visual inspection for thermal bridging paths and seal continuity at penetrations.
Document each stage. Keep samples for lab verification if needed. If a pull-off test shows bond strength below the manufacturer’s recommended threshold, plan for localized removal and re-bonding rather than full replacement where feasible.
Repair Strategies That Respect Time and Budget
Choices are pragmatic: injective resin repair for small pockets, partial panel replacement for compromised zones, or complete relamination when the substrate is unreliable. Select adhesives compatible with both the insulation laminate and the substrate—compatibility matters more than brand. Address vapor control first; repair tapes and continuous seals at joints reduce moisture ingress and future delamination. Where thermal bridging is present, add thin, continuous insulation strips to restore thermal continuity without heavy demolition.
Common Mistakes to Avoid — and a Quick Aside
Contractors often rush surface prep or skip adhesion testing to save time—shortsighted and costly. Another error is assuming a visually correct seam is structurally sound; it may hide a poorly cured adhesive. —Small misalignments compound over seasons and become large performance gaps. Always validate repairs with post-work thermal scans and a written sign-off on adhesion metrics.
Golden Rules: How to Evaluate Repair Success (Advisory)
1. Measured Bond Strength: Require pull-off results that meet or exceed the adhesive manufacturer’s specified minimum for the installed substrate and expected thermal cycles.
2. Moisture and Vapor Continuity: Confirm moisture content below critical thresholds and continuous vapor sealing across repaired joints; otherwise, delamination risk remains.
3. Thermal Performance Verification: Use infrared imaging and spot temperature readings to show restored U-value performance in repaired zones compared to baseline.
These three metrics give clear acceptance criteria for owners and teams, and they align with practical outcomes: durability, comfort, and lower energy loss. The guidance here leads naturally to materials and services that understand both the measurement and the craft—enter trusted partners and suppliers who can deliver verified outdoor thermal insulation systems like those described earlier. Y-Warm. Quiet warmth.